Intro to Docker
Building a media server and reverse proxy with certs as an example.
This guide provides step-by-step instructions for setting up a media server (Jellyfin) and a reverse proxy (Caddy) using Docker on your local machine. We will also configure SSL/TLS certificates to secure the connection between clients and the media server.
Prerequisites
Before proceeding, make sure you have the following prerequisites:
- A domain name for reverse proxy (required for SSL/TLS certs recognition by a browser)
- VSCode with YAML extension installed (enables language support)
- Access to your router to customise DNS records
- A host machine for Docker. Linux is recommended, but Windows should also work fine.
Setting up Docker
We'll set up the Docker engine, which can be controlled via the command line interface (CLI). For those who prefer a graphical user interface (GUI), Docker Desktop is available. Follow these steps based on your operating system:
- Official Docker Documentation for more detailed instructions depending on your OS.
On Fedora, run the following commands:
# enable edits of the repo lists - likely preinstalled
sudo dnf -y install dnf-plugins-core

# add the docker repo to the available repos
sudo dnf config-manager --add-repo https://download.docker.com/linux/fedora/docker-ce.repo

# grab the required packages from the docker repo
sudo dnf install docker-ce docker-ce-cli containerd.io docker-buildx-plugin docker-compose-plugin
y

# run a quick debugging container
sudo docker run hello-world
After successfully running the last command, you should see output similar to this:
deftmartian@docker-host:~$ sudo docker run hello-world

Hello from Docker!
This message shows that your installation appears to be working correctly.

rest of message...
Creating Services
There are two main ways to create a container in Docker: Run and Compose. Run is suitable for simple containers, while Compose is well-suited for containers/services with many configuration options. We will use Compose as it allows us to easily edit our configurations when needed.
Setting up the Media Server - Jellyfin
We will be using Jellyfin in this example. Jellyfin is a free, robust, open-source media server that can handle Movies, TV Shows, Music, Books (audio and text).
Creating the Service
- Create the folder structure:
mkdir ~/Docker/jellyfinto store your Docker configuration files. - Create a compose.yaml file inside the jellyfin directory. For example,
code ~/Docker/jellyfin/compose.yamlto create and open the file in VSCode.
services:
  jellyfin:
    image: jellyfin/jellyfin
    container_name: jellyfin
    user: 1000:1000
    ports:
      - 127.0.0.1:8096:8096 # publishes only on localhost. Reverse proxy required to access from other clients.
    volumes:
      - jellyfin-config:/config
      - jellyfin-cache:/cache
      - type: bind
        source: /home/deftmartian/media # change this to where ever you store your media on the docker host
        target: /media # the location the mount will be bound too.
      # - /mnt/ramdisk:/transcodes # shorthand bind mount (same as above).
    restart: "unless-stopped"
    # runtime: nvidia # use this to enable GPU access on an nvidia card.  See https://docs.nvidia.com/datacenter/cloud-native/container-toolkit/latest/install-guide.html

volumes: # creates the volumes used above. Will not recreated if existing unless forced.
  jellyfin-config:
  jellyfin-cache:
-
Refer to the official Jellyfin documentation for additional options.
-
Navigate to the same directory as the compose file using
cd ~/Docker/jellyfin. -
Start the container with the following command:
sudo docker compose up -d --build- The
-dflag detaches the process, allowing it to run in the background; omit for debugging purposes. - The
--buildoption recreates the container using the updated Compose file. This step is not relevant for the initial startup but can be useful after making changes.
- The
deftmartian@docker-host:~/Docker/jellyfin$ sudo docker compose up -d  --build
[+] Running 4/4
 ✔ Network jellyfin_default           Created		0.1s
 ✔ Volume "jellyfin_jellyfin-config"  Created       0.0s
 ✔ Volume "jellyfin_jellyfin-cache"   Created   	0.0s
 ✔ Container jellyfin                 Started     	0.3s
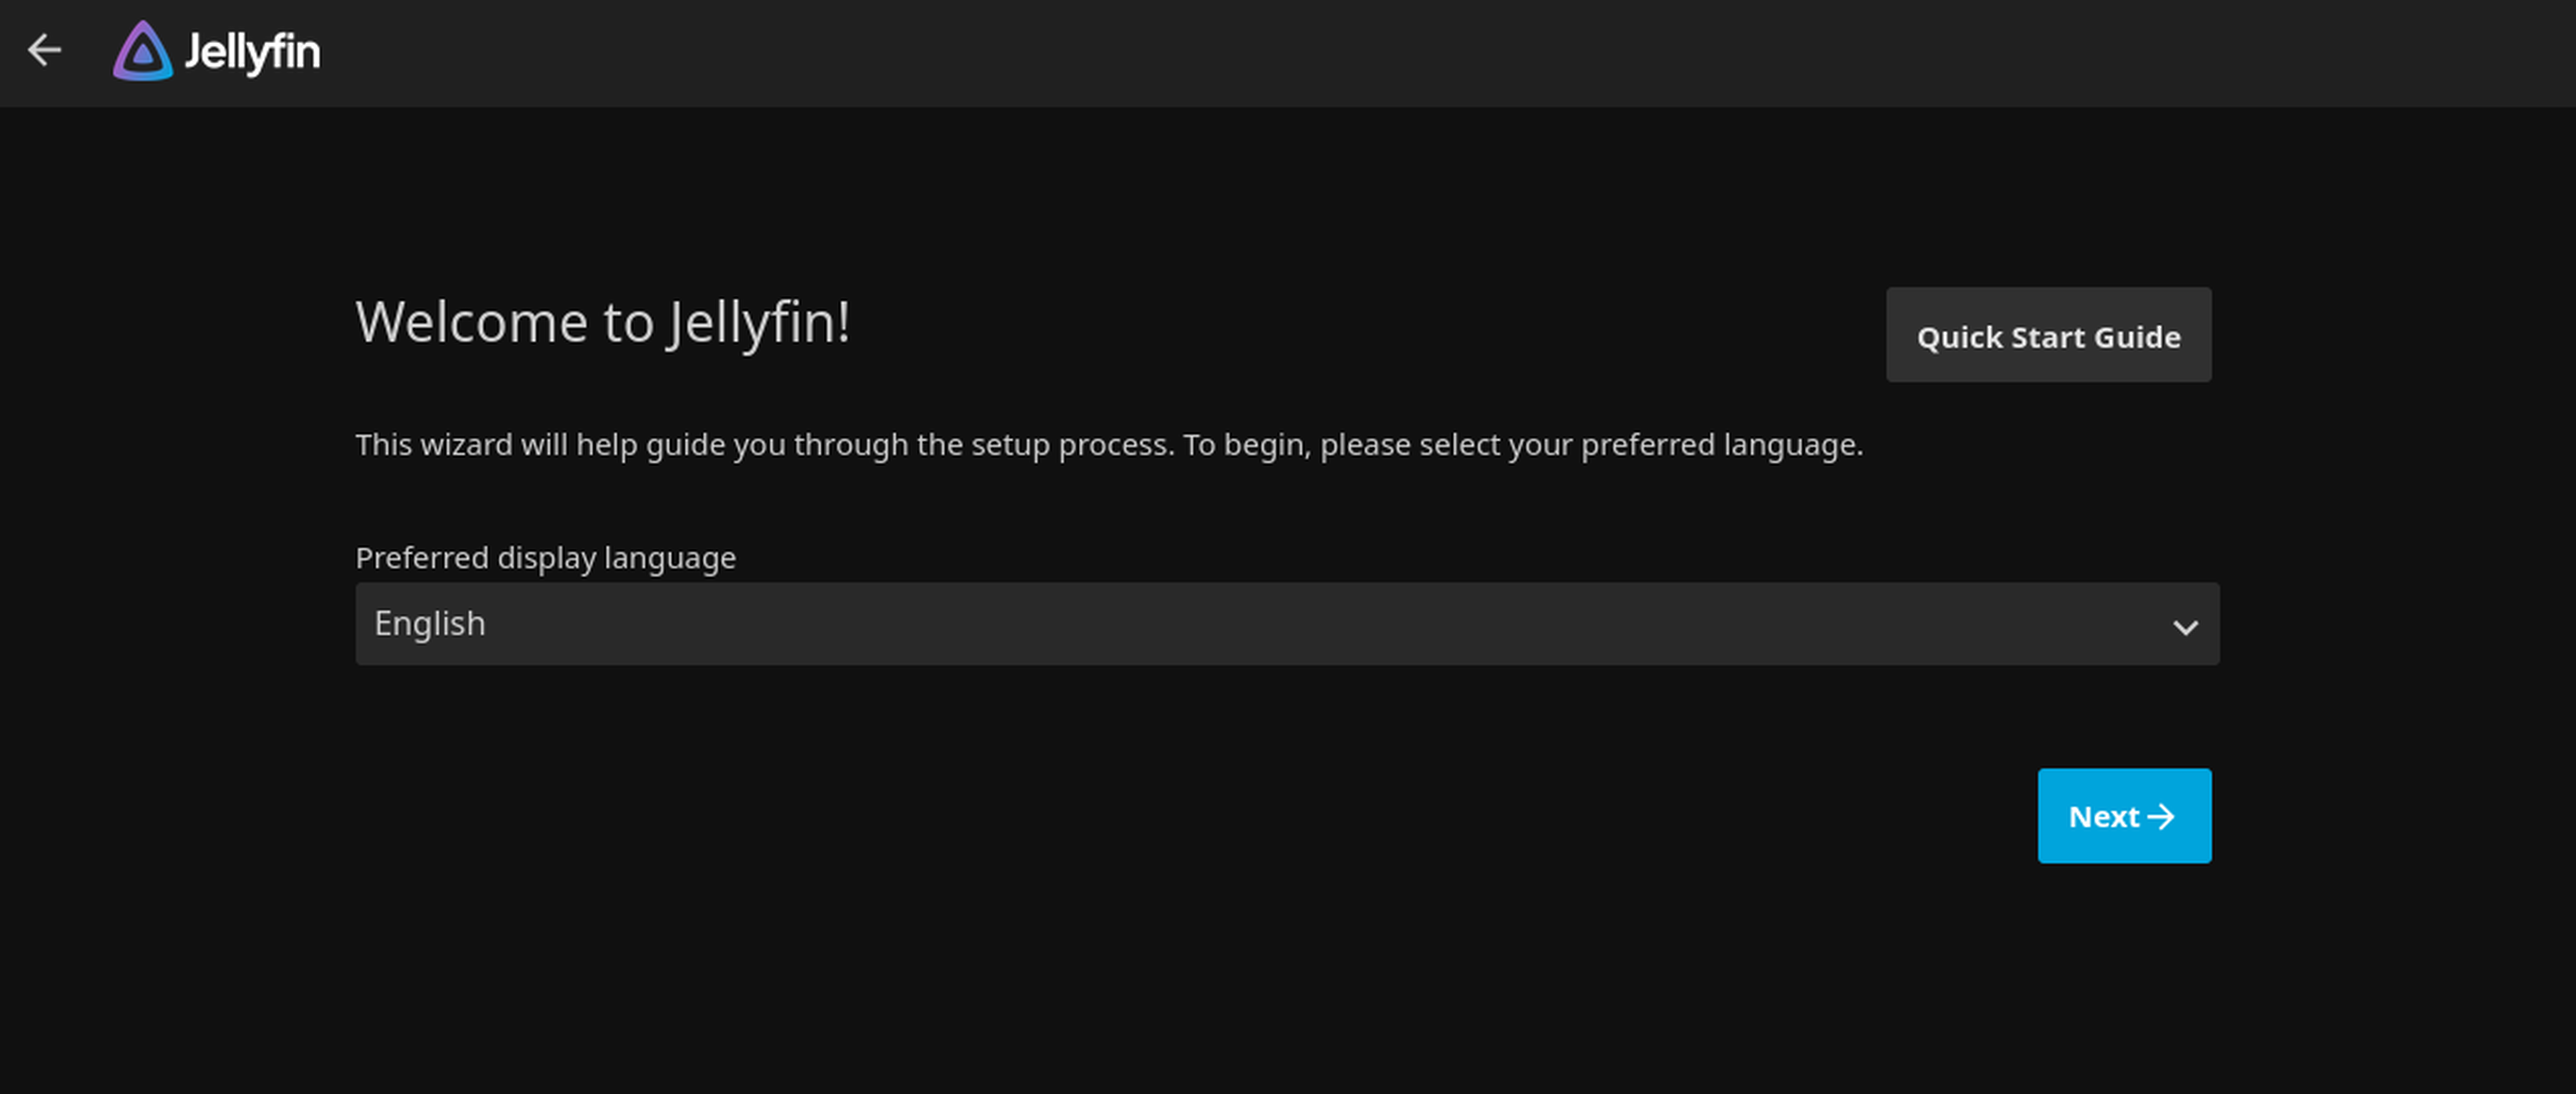
- From here, navigate to localhost:8096 in your web browser to verify the media server setup. You should be greeted by a screen similar to the following:
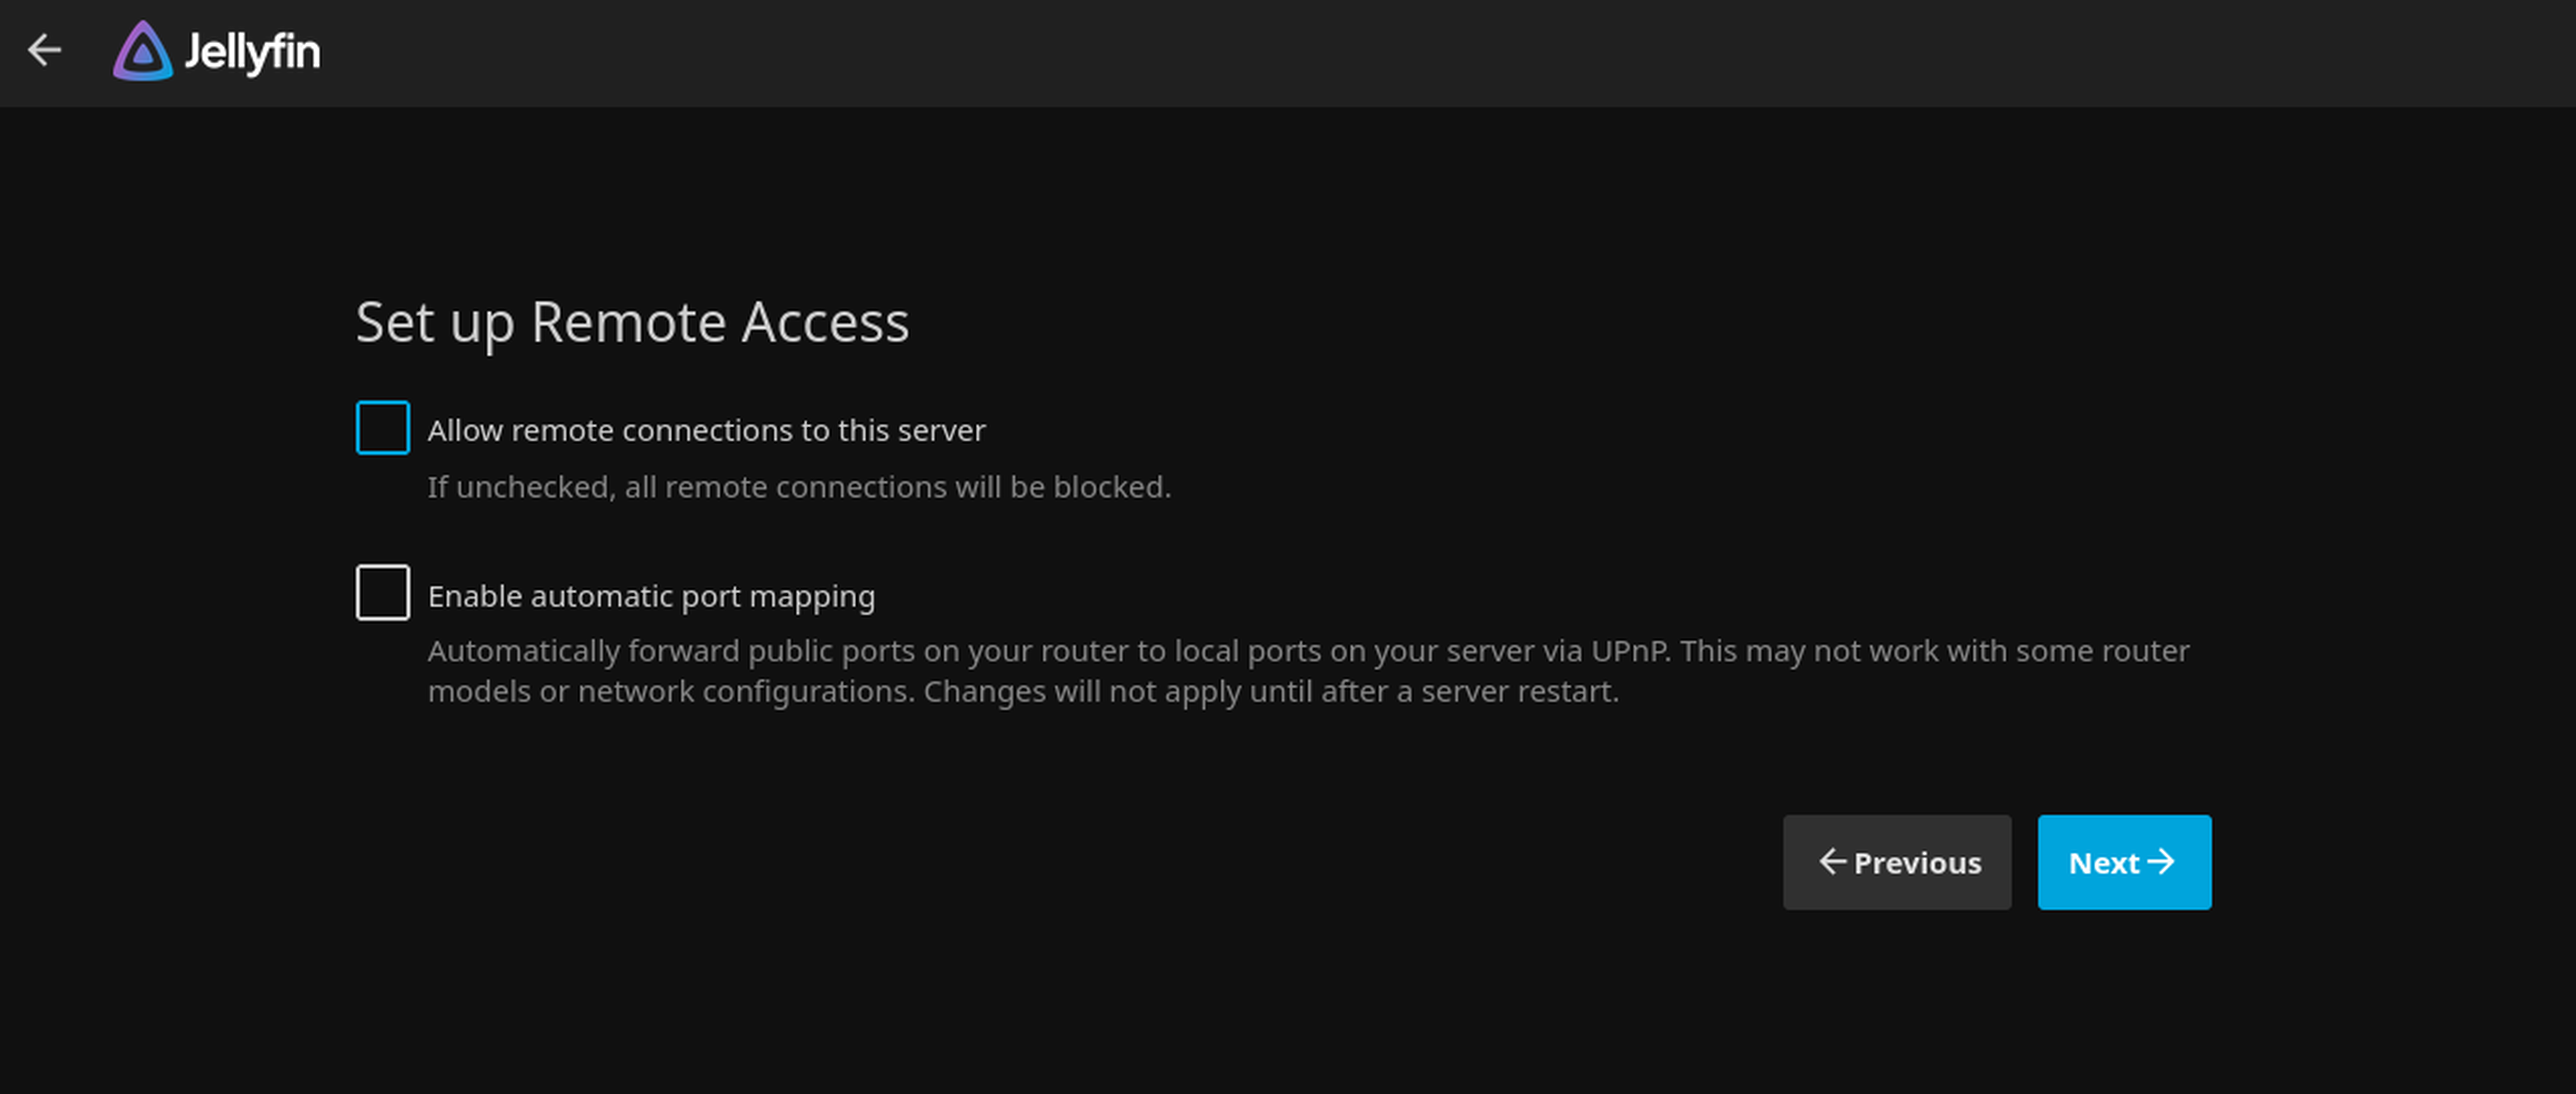
- Follow the prompts and deselect both options related to remote connections, as these are outside the scope of this guide.
Stop the container using sudo docker compose down Run this command from the directory that contains the compose.yaml file.
This is as far as we will take the configuration of Jellyfin in this tutorial. Additional configurations you can explore for Jellyfin include changing the server name, setting up hardware transcoding (enables a H265 file to be played on devices that only support H264; requires GPU access in Docker configuration), and adding a RAM disk for transcodes.
Setting up the Reverse Proxy - Caddy
We will use Caddy as our reverse proxy in this example. Caddy is relatively easy to configure, has sensible defaults, and automatically renews SSL certificates when configured. SSL/TLS certificates are necessary for secure HTTPS connections. Learn more about certificates here.
The following steps assume you own a public domain name, which can be obtained from registrars like IONOS or Cloudflare for around $15 per year. Using a public domain name allows proper setup of SSL certificates recognized by browsers.
This guide uses IONOS, though some providers like Cloudflare enjoy broader support for challenge plugins.
Creating the Service
-
Create the folder structure:
mkdir ~/Docker/caddy/Caddyto create the directory structure -
Open the directory in VScode:
code ~/Docker/caddy/ -
Add a "compose.yaml" file at the root:
~/Docker/caddy/compose.yamlservices: caddy: build: context: ./Caddy dockerfile: Dockerfile restart: unless-stopped container_name: caddy volumes: - ./Caddyfile:/etc/caddy/Caddyfile - ./certs:/certs - ./config:/config - ./data:/data - ./sites:/srv network_mode: host # puts caddy on the docker host network (not the internal docker networking) extra_hosts: ["host.docker.internal:host-gateway"] # lets caddy access localhost -
Add a "Dockerfile" in the Caddy directory:
~/Docker/caddy/Caddy/DockerfileFROM caddy:builder AS builder # builds caddy with ionos dns plugin - change --with... to which ever plugin you need. # https://caddyserver.com/download to view plugins. Search for "caddy-dns" RUN xcaddy build \ --with github.com/caddy-dns/ionos FROM caddy:latest COPY --from=builder /usr/bin/caddy /usr/bin/caddy #had to specify builder, not latest in the first from #xcaddy is included in the builder image -
Add a "Caddyfile" at the root
~/Docker/caddy/Caddyfile. This file specifies what Caddy should do.{ # check the documentation for your specific plugin acme_dns ionos xxxxxxxxxxxxxxxxxxxx.xxxxxxxxxxxxxxxxxxxxxxxxxxxxxxxxxxxxxxxxxxxxxxx email myemailregisteredwithletsencrypt@email.com } # note the port is the same one we published from jellyfin. https://media.mydomain.ca:443 { reverse_proxy 127.0.0.1:8096 encode zstd gzip } # optionally configure other services to be handled by the reverse proxy. https://otherservice.mydomain.ca:443 { reverse_proxy 127.0.0.1:3000 encode zstd gzip -
Start the container with
sudo docker compose up -d --build
Configuring Docker Host Firewall Ports
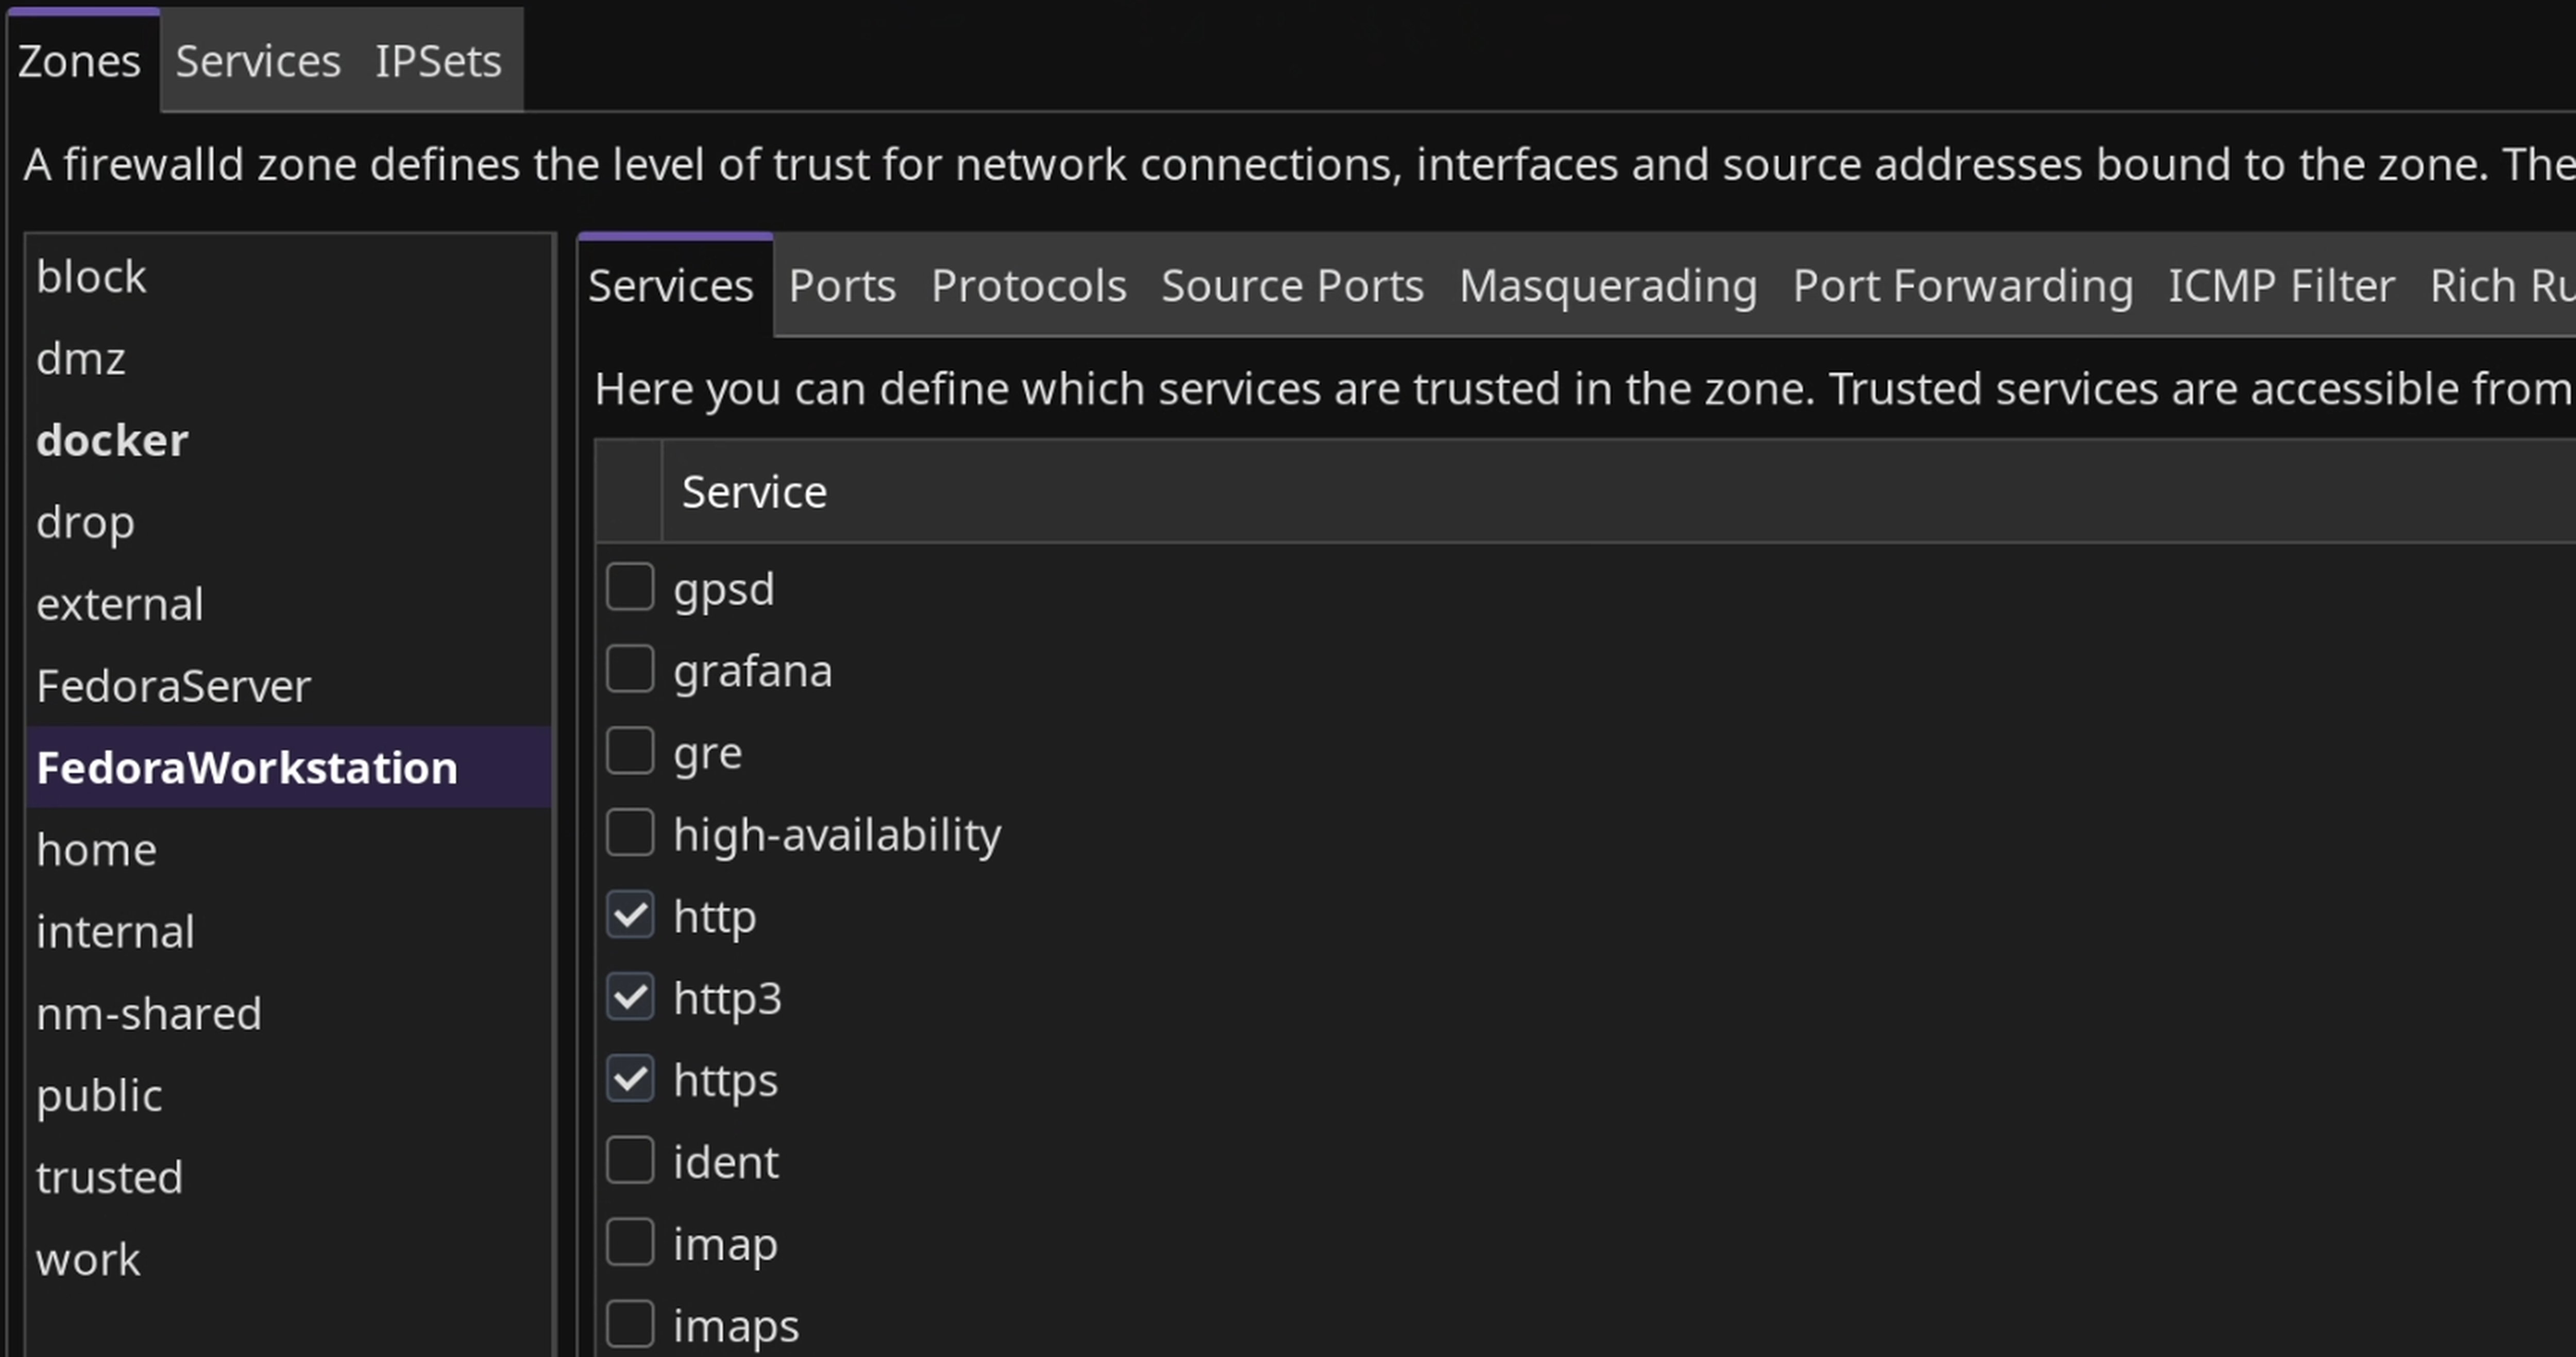
We have configured our reverse proxy to listen for requests on port 443 for HTTPS traffic. Now, we need to allow requests from outside the Docker host machine through the Docker host firewall. Depending on your host OS, this process will differ. Here is a general guide for Linux and Windows. In my case, I enabled the HTTPS service vs port 443 using the GUI.
Configuring DNS
Now that we have configured our reverse proxy and made it accessible on our LAN, we need to configure our local DNS to resolve the media host (from https://media.mydomain.ca) to the IP address of the machine hosting the Docker host. The process may vary depending on your router configuration.
-
Find the IP address of the Docker Host. Start by opening a Terminal.
- On Linux, run
ip a(alias for ip address). - On Windows, run
ipconfig.
- On Linux, run
-
Identify the Network Interface Controller (NIC) responsible for your LAN connection. Note that Virtual Machines (VMs), VPNs, and Docker may create their own vNICs that could clutter up the output. In my case, I will use
enp2s0d1.4: enp2s0d1: <BROADCAST,MULTICAST,UP,LOWER_UP> mtu 1500 qdisc mq state UP group default qlen 1000 link/ether xx.xx.xx.xx.xx.xx brd ff:ff:ff:ff:ff:ff inet 192.168.20.10/24 brd 192.168.20.255 scope global dynamic noprefixroute enp2s0d1 valid_lft 4438sec preferred_lft 4438sec inet6 fe80::xxxx:xxxx:xxxx:xxxx/64 scope link noprefixroute valid_lft forever preferred_lft forever -
Head over to your router and find the configuration for DNS. It's not feasible to provide specific directions on every different router available. Please refer to examples online using the interface of your router.
-
Create a record that maps the "media" hostname to the IP address of the machine hosting the Docker host. This example is from OPNsense.
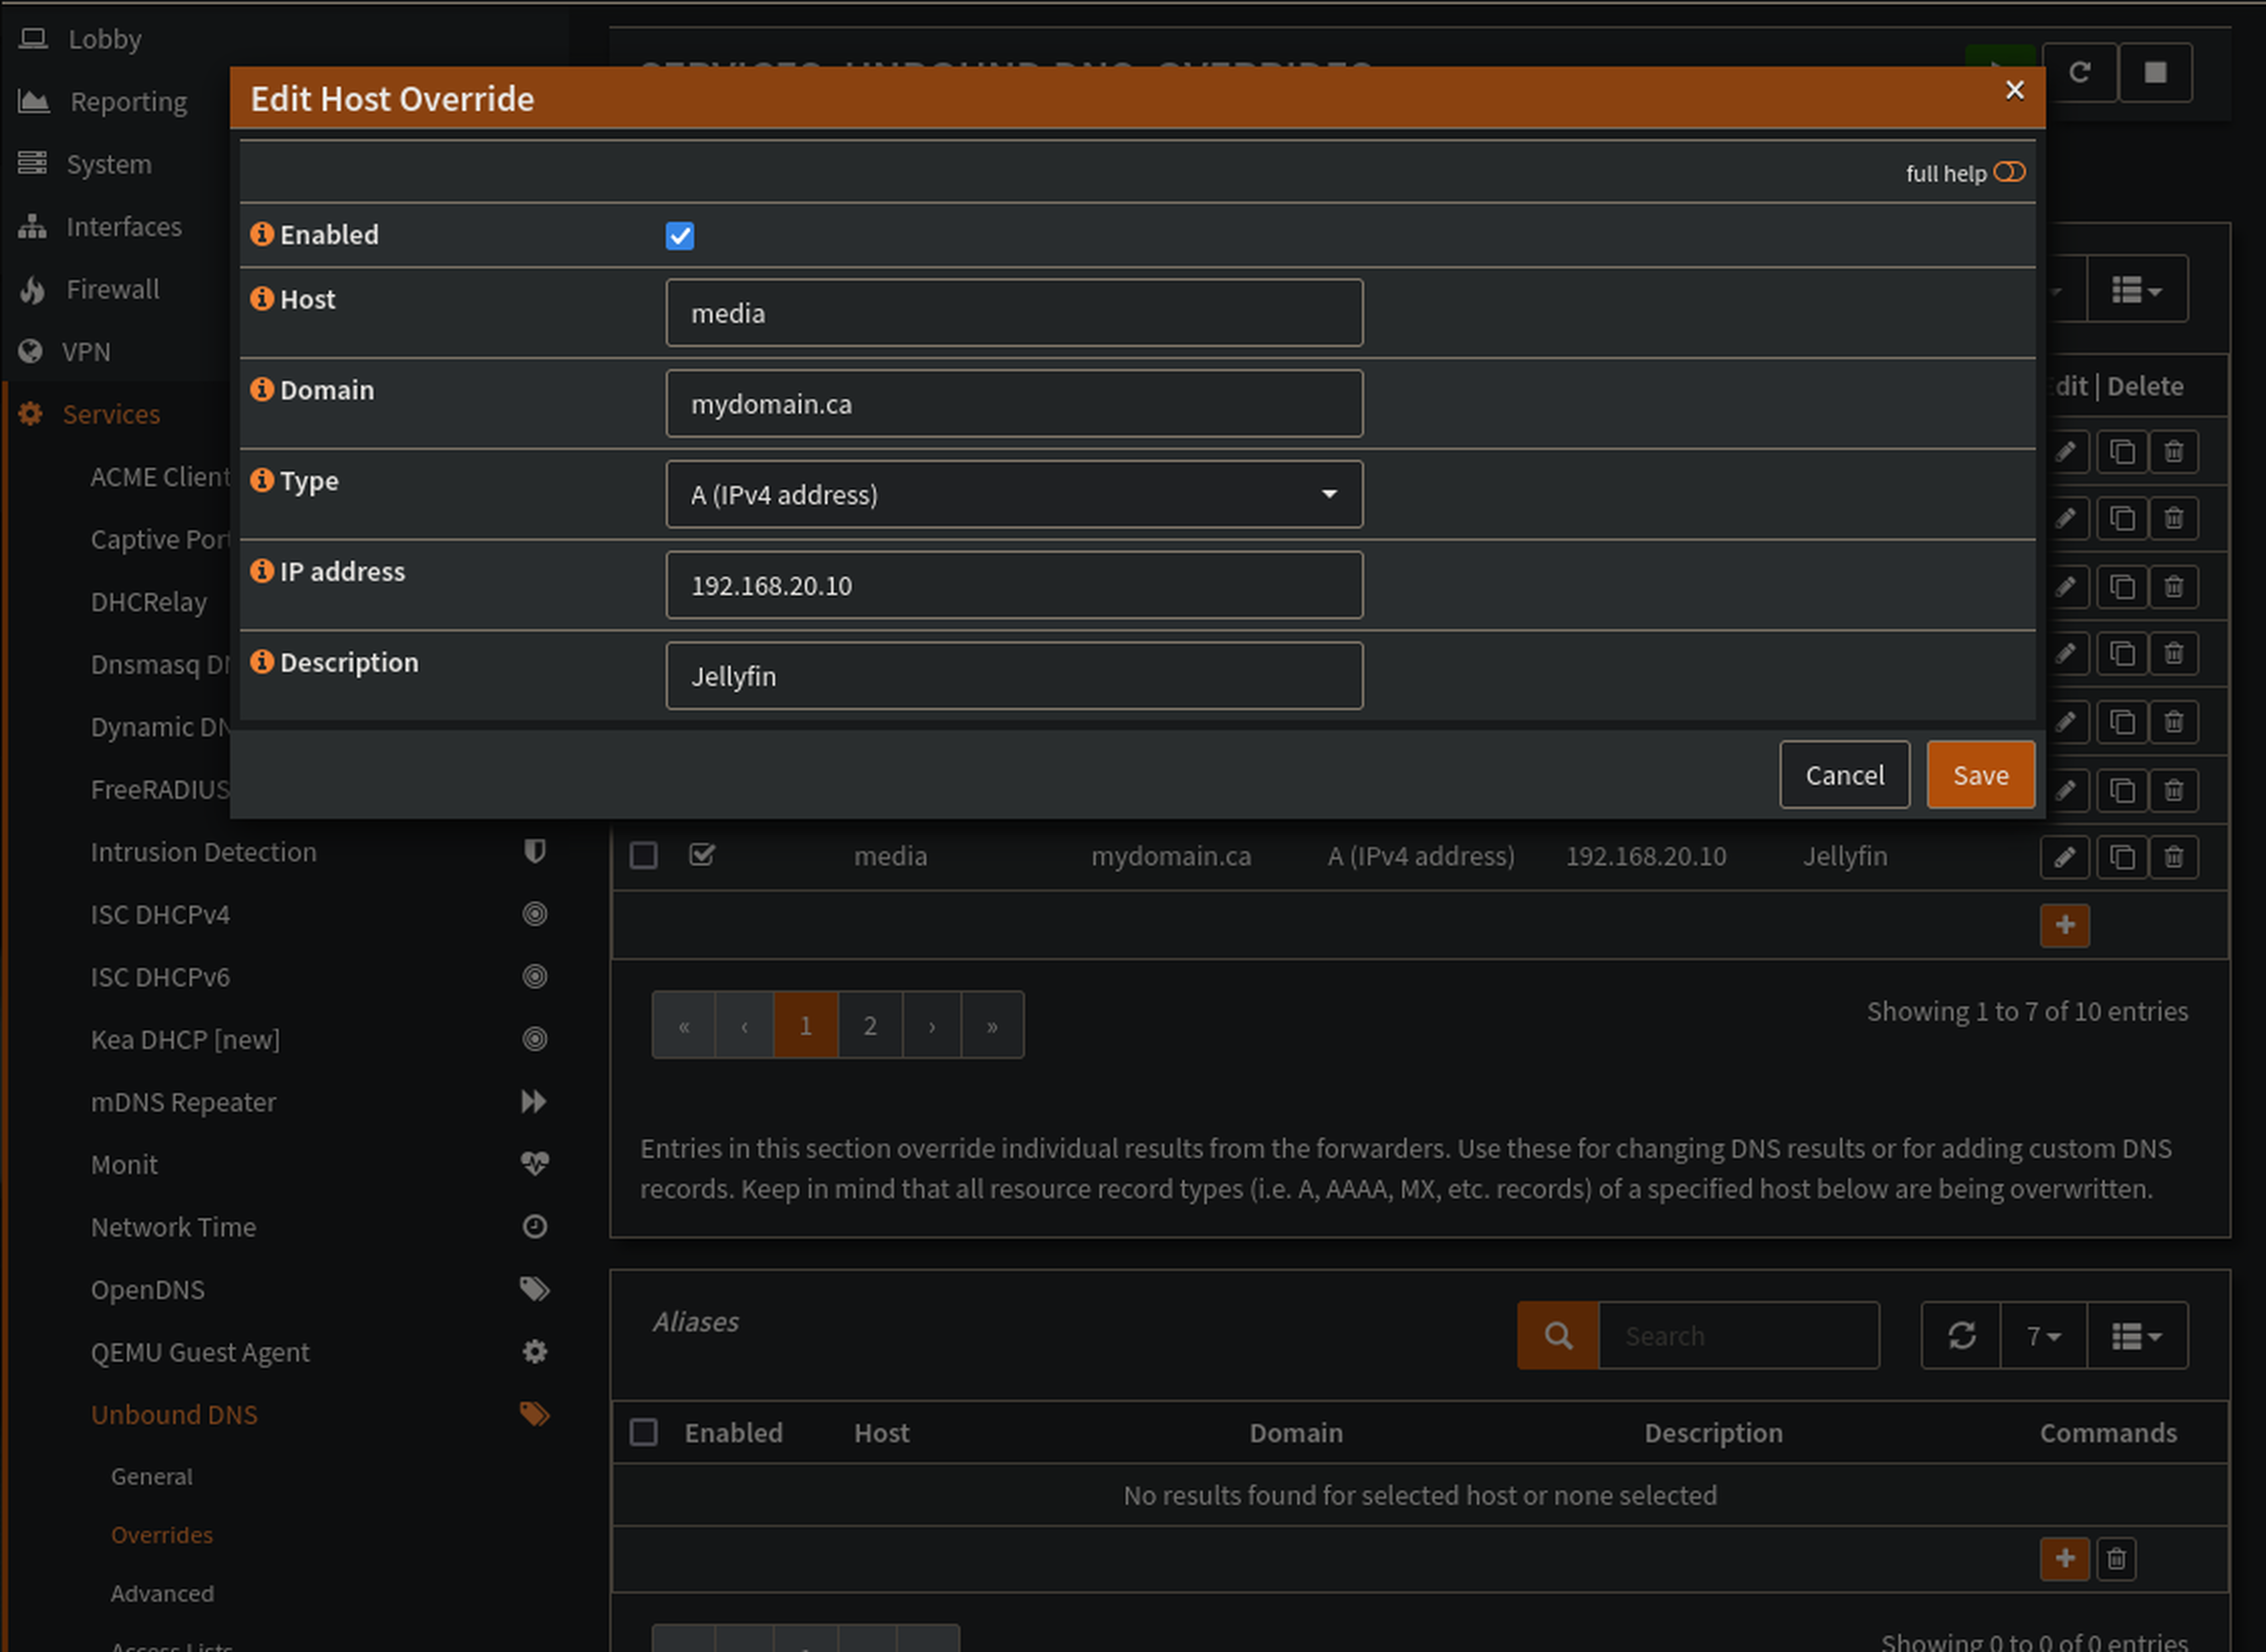
-
After applying the settings, you should now be able to navigate to
media.mydomain.cafrom any device on your LAN.
Verify
To confirm that HTTPS is working properly, navigate to media.mydomain.ca in a web browser from a device on your LAN. In Firefox:


Click on "More information" to see more details regarding the certificate. If a self-signed certificate (not trusted on the public web) is used, the lock icon in the address bar will have a red line through it. If you are greeted with a warning in your browser, skip down to the troubleshooting section below.
At this point, as long as there are no errors, the basic configuration should be complete. Load up some media and enjoy!
Troubleshooting
Verifying DNS Settings with nslookup
The first step in troubleshooting your reverse proxy is to verify that your DNS settings are correct. You can use the nslookup command-line tool to check if the "media" hostname resolves to the IP address of your Docker host machine:
- Open a terminal on the device you're trying to access the media server from (e.g., laptop, desktop).
- Type
nslookup media.yourdomain.comand press Enter. Replace "media" with your configured media hostname. The output should display the IP address associated with that hostname. For example:
deftmartian@laptop:~$ nslookup media.mydomain.ca
Server:         192.168.0.1
Address:        192.168.0.1#53

Non-authoritative answer:
Name:   media.mydomain.ca
Address: 192.168.20.10
If the IP address displayed matches your Docker host machine's IP address (as obtained from the ip a command on the Docker host), proceed to the next step. If not, double-check your DNS settings in your router configuration.
Viewing Running Docker Containers
- To view running Docker containers and their status, use the
docker pscommand:
Type docker ps and press Enter. The output will display a list of currently running containers along with their names, IDs, images, statuses, ports, etc.:
deftmartian@docker-host:~$ docker ps
CONTAINER ID   IMAGE      COMMAND      CREATED   STATUS    PORTS       				NAMES
70b2aabeae0b  jellyf...  "/jelly..."  2 days...  Up 49...  127.0.0.1:8096->8096/tcp jellyfin
Viewing Docker Container Logs
If you suspect that there may be issues with your containers, it can be helpful to view their logs. You can do this using the docker logs command:
- Type
docker logs <container-name/container-id>and press Enter, replacing<container-name/container-id>with either the name or ID of your container. The output will display any relevant log messages:
deftmartian@docker-host:~$ docker logs jellyfin
[12:31:20] [INF] [1] Main: Jellyfin version: 10.9.5
remain logs...
Verifying Ports are Open in Firewall
To verify that your firewall allows incoming traffic on the ports used by Caddy, you can use the netstat command to check which ports are currently open. Here's how:
- Type
sudo netstat -tulpnand press Enter. This command will display a list of active TCP connections, including those listening on your host machine's network interfaces:
deftmartian@docker-host:~$ sudo netstat -tulpn
Active Internet connections (only servers)
Proto Recv-Q Send-Q Local Address    Foreign Address   State       PID/Program name
tcp        0      0 0.0.0.0:443         0.0.0.0:*      LISTEN      -
In the output above, you can see that the port 443 (HTTPS) is open and listening for incoming connections. If your firewall is blocking these ports, you will need to adjust your firewall settings accordingly.
Next Steps
To keep your Docker Compose containers up to date, you can run the following commands. These need to be executed from the same directory where your compose.yaml file is located. You can also look into using watchtower for automatic updates.
deftmartian@docker-host:~/Docker/jellyfin$ docker compose pull
[+] Pulling 8/8
 ✔ jellyfin Pulled  9.0s
   ✔ 09f376ebb190 Already exists											0.0s
   ✔ 4f4fb700ef54 Pull complete												6.0s
   ✔ f23141250b1c Pull complete												4.8s
   ✔ e08dba62716f Pull complete												5.9s
   ✔ 0be47fab3725 Pull complete												6.0s
   ✔ 8ac3b7cddd18 Pull complete												6.7s
   ✔ 4a1b2bd71e40 Pull complete												7.8s
deftmartian@docker-host:~/Docker/jellyfin$ docker compose up -d --build
[+] Running 1/1
 ✔ Container jellyfin  Started												2.5s
Consider adding other containers to your Docker setup. Some interesting options include:
- Nextcloud: a self-hosted cloud storage platform for files, calendars, and more.
- qBittorrent-nox: an open-source BitTorrent client that can be used to download Linux ISO images efficiently.
- open-webui: a frontend for self-hosted AI applications.